This manual provides comprehensive guidance for installing, configuring, and maintaining the Honeywell T4 Pro thermostat. Designed for ease of use, it ensures a smooth setup process and optimal performance. By following the steps outlined, users can unlock advanced features, customize settings, and enjoy energy-efficient heating and cooling solutions tailored to their needs.
1.1 Overview of the Honeywell T4 Pro Thermostat
The Honeywell T4 Pro Thermostat is a cutting-edge, user-friendly device designed for efficient temperature control. It offers advanced smart features, compatibility with various HVAC systems, and seamless integration with smart home technologies. With its intuitive interface and energy-saving capabilities, the T4 Pro ensures optimal comfort while reducing energy consumption. Its compact design and robust functionality make it a versatile solution for modern homes and businesses.
1.2 Importance of Proper Installation
Proper installation of the Honeywell T4 Pro Thermostat ensures optimal performance, energy efficiency, and safety. Incorrect installation can lead to malfunction, increased energy bills, or even system damage. Following the manual’s guidelines guarantees correct wiring, secure mounting, and proper configuration, ensuring reliable operation and maximizing the thermostat’s advanced features. Proper installation also prevents potential safety hazards and maintains warranty validity, providing long-term peace of mind for users.
1.3 Safety Guidelines and Precautions
Always disconnect power to the HVAC system before starting installation to avoid electrical shocks or injuries. Handle the thermostat and wires with care to prevent damage. Follow proper grounding procedures to ensure safe operation. Adhere to all safety guidelines in this manual to minimize risks and guarantee the thermostat’s longevity and reliable performance. Safety is paramount for a successful installation.

System Requirements and Compatibility
The Honeywell T4 Pro is compatible with most HVAC systems, requiring standard electrical connections and supporting smart home integrations for seamless functionality and enhanced control systems.
2.1 Compatible HVAC Systems
The Honeywell T4 Pro is designed to work with a wide range of HVAC systems, including forced air, heat pumps, and radiant heating systems. Its compatibility extends to both single-stage and multi-stage systems, ensuring versatile performance across various home configurations. The thermostat’s universal design allows it to integrate seamlessly with most standard HVAC setups, providing reliable temperature control and energy efficiency without requiring additional adapters or complex modifications.
2.2 Electrical Requirements
The Honeywell T4 Pro requires a 24V AC power supply and is compatible with most standard HVAC systems. A common wire (C-wire) is necessary for proper operation to ensure continuous power to the thermostat. The device typically consumes minimal power, around 1VA, making it energy-efficient. It supports systems with or without a common wire, providing flexibility for various electrical configurations. Always verify compatibility with your specific HVAC setup before installation.
2.3 Smart Home Integration Compatibility
The Honeywell T4 Pro is designed to integrate seamlessly with popular smart home systems, including Amazon Alexa and Google Assistant. This compatibility allows users to control their thermostat via voice commands or through the respective smart home apps. Additionally, it supports remote access, enabling users to adjust settings and monitor their HVAC system from anywhere. This feature enhances convenience and energy efficiency, making it a versatile choice for modern homes. Proper setup ensures a smooth integration experience.

Unboxing and Inventory
Upon opening the package, you’ll find the Honeywell T4 Pro thermostat, mounting hardware, wiring labels, and a quick-start guide. Verify all components are included before proceeding with installation.
3.1 Items Included in the Package
The Honeywell T4 Pro package contains the thermostat unit, mounting hardware, wiring labels, and a quick-start guide. Ensure all components are present and undamaged before proceeding. Verify the thermostat, screws, wall anchors, and wiring labels are included. Check for any visible damage to the thermostat or accessories. If any items are missing or damaged, contact Honeywell support immediately for assistance.
3.2 Verifying the Contents
To ensure a smooth installation, verify that all components of the Honeywell T4 Pro are present and undamaged. Check for the thermostat unit, mounting hardware, wiring labels, and the quick-start guide. If any items are missing or damaged, contact Honeywell customer support immediately for assistance. This step is crucial to avoid delays or complications during the setup process.
3.3 Understanding the Thermostat Components
The Honeywell T4 Pro includes a high-resolution touchscreen display, temperature and humidity sensors, and wiring terminals for HVAC connections. The thermostat also features a built-in Wi-Fi module for smart home integration. Familiarize yourself with these components to ensure proper installation and functionality. Refer to the manual for detailed descriptions and diagrams to understand each part’s role in the system’s operation.
Pre-Installation Steps
Before installing the Honeywell T4 Pro, ensure the HVAC system is powered off, prepare the installation site, and gather all necessary tools and materials for a smooth process.
4.1 Shutting Off Power to the HVAC System
Ensure the HVAC system’s power is completely turned off at the circuit breaker or main electrical panel before starting the installation. Verify the power is off using a voltage tester to avoid any electrical hazards or damage to the system. This step is crucial for safety and prevents unexpected system activation during installation;
4.2 Preparing the Installation Site
Clear the area around the installation site to ensure easy access and prevent clutter. Verify the wall is sturdy and free from damage. Gather all necessary tools and materials beforehand. Ensure the surface is clean and dry for proper thermostat mounting. If required, install wall anchors or patches to support the thermostat securely.
4.3 Tools and Materials Needed
To ensure a smooth installation, gather the following tools and materials: a screwdriver, drill, level, wire strippers, pliers, voltage tester, wall anchors, and mounting screws. Additional materials like drywall patches or paint may be needed for wall repairs. Having these items ready will streamline the process and prevent delays during the thermostat installation.
Installation Process
The installation process begins with preparing the site and handling wiring. Carefully mount the thermostat, secure it, and complete the setup. Ensure all steps are executed correctly and safely for optimal functionality.
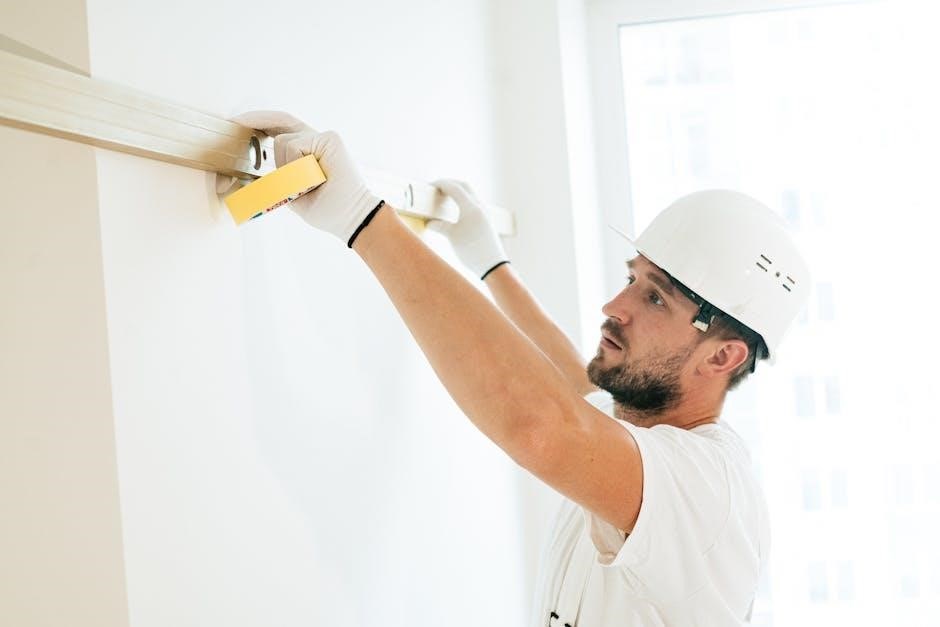
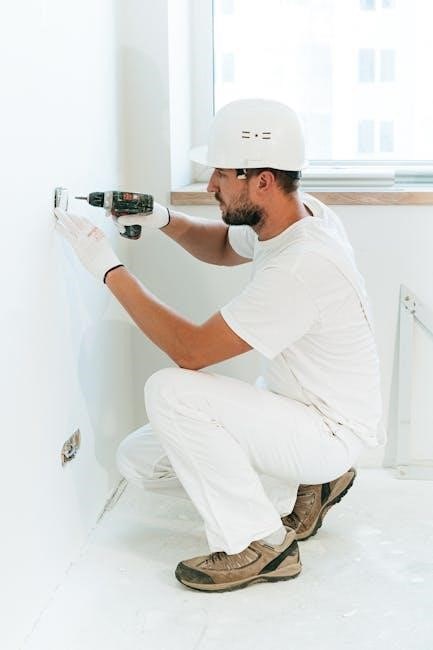
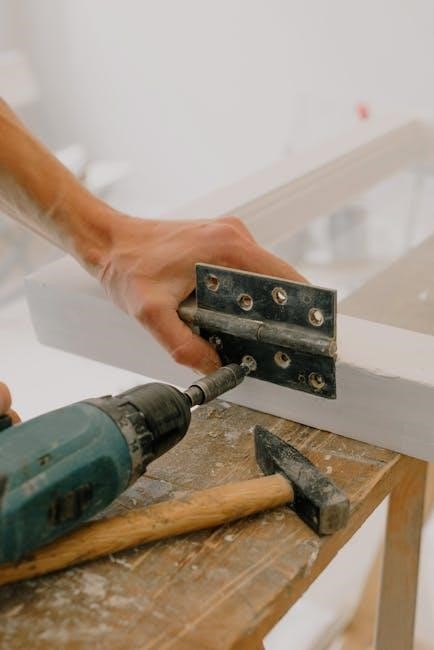
5.1 Mounting the Thermostat
Mounting the Honeywell T4 Pro thermostat begins with ensuring the wall surface is level and clean. Use the provided mounting bracket to secure the device firmly. Align the thermostat with the bracket, ensuring it clicks into place for a snug fit. Verify that the thermostat is straight and evenly positioned before proceeding to the next steps. Proper mounting is essential for accurate sensor readings and functionality.
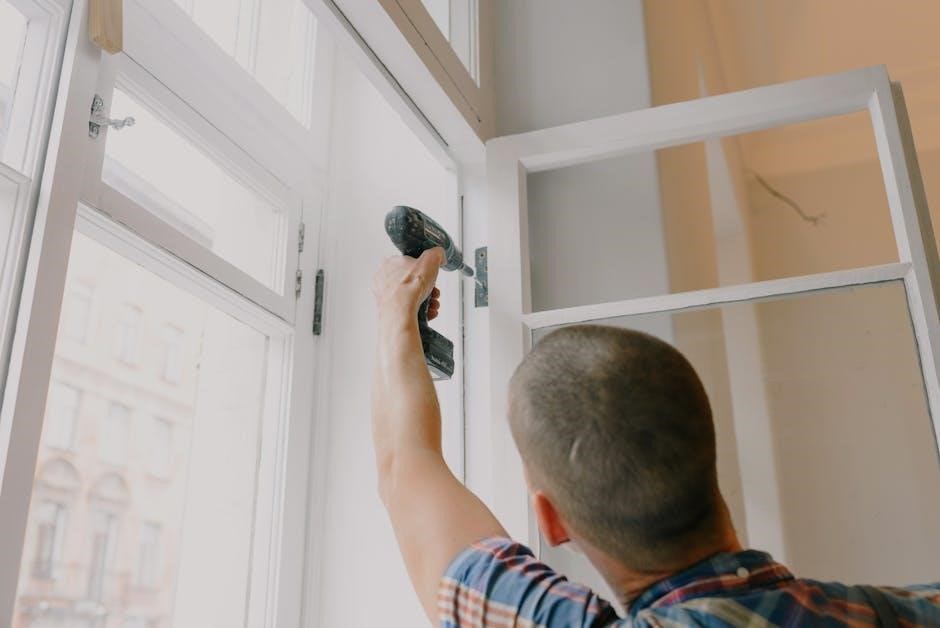
5.2 Connecting the Wires
Begin by turning off the power to the HVAC system at the circuit breaker. Consult the wiring diagram provided in the manual to ensure correct wire connections. Match each wire to the corresponding terminal on the Honeywell T4 Pro thermostat, securing them firmly to avoid loose connections. If unsure, consider consulting a licensed electrician. Proper wiring is essential for optimal performance and efficiency.
5.3 Securing the Thermostat to the Wall
Once the wires are connected, carefully position the Honeywell T4 Pro thermostat against the wall, ensuring it is level. Use the provided wallplate and screws to secure the thermostat firmly. If the wall is drywall or plaster, consider using wall anchors for added stability. Tighten the screws gently to avoid damaging the thermostat or the wall. Double-check the alignment before finalizing the installation.
Configuration and Setup
This section guides you through the initial setup, Wi-Fi connection, and temperature configuration of your Honeywell T4 Pro, ensuring a seamless and efficient process.
6.1 Initial Power-On and Setup Wizard
Upon powering on the Honeywell T4 Pro, the setup wizard will guide you through initial configuration. This includes selecting your language, choosing your HVAC system type, and setting your preferred temperature units. The wizard also helps you connect to your Wi-Fi network and initializes the thermostat’s sensors for optimal performance. Follow the on-screen instructions carefully to ensure proper setup.
6.2 Setting Up Wi-Fi Connectivity
To connect your Honeywell T4 Pro to Wi-Fi, select your network from the available options and enter the password using the touchscreen interface. Ensure your router is within range for a stable connection. Once connected, the thermostat will confirm connectivity, enabling remote access and smart home integration features. A strong internet connection is essential for optimal functionality and updates.
6.3 Configuring Temperature Settings
Configure your Honeywell T4 Pro by setting your preferred temperature ranges for heating and cooling. Use the touchscreen to adjust the temperature, schedule settings, or enable energy-saving modes. Ensure the temperature is set correctly for your comfort and energy efficiency. Proper configuration ensures optimal performance and energy savings. Always verify settings after changes to maintain desired conditions.
Advanced Features and Customization
Explore advanced features like scheduling, geofencing, and energy-saving modes to tailor your Honeywell T4 Pro to your lifestyle. Customize settings for enhanced comfort and efficiency, reducing energy consumption while maintaining optimal performance. These features allow for personalized control, ensuring your system adapts to your needs seamlessly. Discover how to unlock these capabilities for a smarter home experience.
7.1 Scheduling and Programming
The Honeywell T4 Pro allows users to create customized schedules and programs for precise temperature control. By setting specific time-based temperature adjustments, you can optimize comfort and energy efficiency. The thermostat learns your preferences over time, adapting to your routine for seamless automation. Programming is intuitive, with options for daily, weekly, or seasonal adjustments, ensuring your home remains comfortable while minimizing energy usage. Proper scheduling enhances performance and convenience, making it a key feature for smart home integration.
7.2 Geofencing and Smart Home Integration
The Honeywell T4 Pro supports geofencing, allowing automatic temperature adjustments based on your location. Compatible with popular smart home systems like Amazon Alexa and Google Home, it integrates seamlessly with your existing setup. Voice control and location-based automation enhance convenience, while energy-efficient settings optimize performance. This feature ensures your home is comfortable upon arrival and conserves energy when you’re away.
7.3 Energy-Saving Modes and Options
The Honeywell T4 Pro offers multiple energy-saving modes, including eco-mode, which slightly adjusts temperatures to reduce consumption. Smart recovery learns your system’s efficiency to heat or cool more effectively. Additionally, the thermostat features learning algorithms that adapt to your schedule and preferences, optimizing energy use. These options help minimize energy waste while maintaining comfort, ensuring efficient performance year-round.
Troubleshooting Common Issues
Identify and resolve common issues like display malfunctions or sensor errors by restarting the thermostat or checking wiring connections. Ensure proper system operation and user safety.
8.1 Common Installation Errors
Common installation errors include incorrect wiring connections, improper mounting, or failure to shut off power. Ensure all wires are securely connected and the system is powered off during installation. Verify compatibility with your HVAC system and double-check the thermostat’s placement for optimal performance. Consult the manual or contact support if issues persist after troubleshooting.
8.2 Resolving Connectivity Problems
To resolve connectivity issues with your Honeywell T4 Pro, first ensure your Wi-Fi network is stable and the thermostat is properly connected. Restart the device and router if necessary. Verify that the correct network name and password are entered. If issues persist, reset the Wi-Fi connection through the thermostat’s settings menu or consult the manual for advanced troubleshooting steps.
8.3 Addressing Display or Sensor Issues
If the display is unresponsive or showing incorrect readings, ensure the thermostat is powered on and properly installed. Clean the screen gently to remove dirt or smudges. If sensor issues arise, check for obstructions or misalignment. Reset the thermostat by removing batteries or power cycling. If problems persist, verify sensor calibration or replace faulty sensors to restore accurate temperature readings and functionality.
Maintenance and Upkeep
Regularly clean the thermostat, check for software updates, and ensure all components are functioning properly. Schedule routine checks to maintain efficiency and extend the system’s lifespan.
9.1 Cleaning the Thermostat
Cleaning the Honeywell T4 Pro thermostat is essential for maintaining performance. Use a soft, dry cloth to gently wipe the display and exterior. Avoid harsh chemicals or liquids, as they may damage the screen or internal components. Regular cleaning ensures optimal functionality and prevents dust buildup that could interfere with temperature sensing or touch controls. This simple step helps maintain accuracy and responsiveness, ensuring your thermostat operates efficiently year-round.
9.2 Updating Software and Firmware
Regular software and firmware updates are crucial for optimal performance. Connect the thermostat to Wi-Fi to enable automatic updates or manually download updates from Honeywell’s official website. Updating ensures access to new features, security patches, and improved functionality. Always follow the manufacturer’s instructions to avoid installation errors. Keeping the system up-to-date guarantees reliability, efficiency, and enhanced user experience for your Honeywell T4 Pro thermostat.
9.3 Regular System Checks
Perform regular system checks to ensure optimal performance of your Honeywell T4 Pro thermostat. Verify the display, sensors, and wiring connections for any signs of wear or damage. Schedule periodic inspections to maintain efficiency and functionality. Refer to the manual for detailed procedures to check system components and address any potential issues promptly to ensure uninterrupted operation and energy savings.
This manual has guided you through the Honeywell T4 Pro installation process. Ensure all systems function correctly, double-check connections, and confirm proper thermostat operation before finalizing the setup.
10.1 Verifying Proper Functionality
After installation, verify the Honeywell T4 Pro’s functionality by testing heating, cooling, and fan modes. Ensure the thermostat responds to temperature adjustments and displays accurate readings. Check Wi-Fi connectivity and remote access through the app. Validate that scheduling and geofencing features work correctly. Confirm all sensors and smart integrations are operational for seamless performance and energy efficiency. This step ensures your system operates as intended, providing comfort and convenience. Proper functionality verification is crucial for a trouble-free experience.
10.2 Final Safety Inspections
Conduct a thorough inspection to ensure all wires are securely connected and no exposed wiring is present. Verify that the thermostat is properly mounted and the HVAC system is functioning safely. Check that all safety features, such as emergency heat and system shutdown, are operational; Ensure compliance with local electrical and safety standards. A final inspection prevents potential hazards and ensures reliable operation. This step is critical for long-term safety and performance.
10.3 Disposal of Packaging and Unused Materials
Properly dispose of all packaging materials, including plastic, cardboard, and protective covers. Recycle recyclable items to minimize environmental impact. Dispose of unused wires, screws, and components responsibly. Check local regulations for electronic waste disposal, especially for batteries or circuit boards. Ensure all materials are handled safely and ethically, adhering to environmental guidelines to promote sustainability and responsible waste management practices.
References and Additional Resources
Refer to official Honeywell resources, including user manuals, customer support, and online guides, for comprehensive assistance with the T4 Pro installation and operation.
11.1 Honeywell Customer Support Contact Information
For assistance with the Honeywell T4 Pro, contact customer support at 1-800-633-3991 or visit their official website at https://www.honeywellhome.com/. Support is available Monday through Friday, 8 AM to 6 PM EST, to address installation, troubleshooting, or compatibility concerns. Additionally, live chat and email options are accessible through their website for convenient support.
11.2 Online Manuals and Guides
The official Honeywell website offers downloadable PDF manuals and guides for the T4 Pro thermostat at https://www.honeywellhome.com/support. Additional resources, including installation videos and troubleshooting tips, are available on Honeywell’s YouTube channel and authorized distributor websites. Users can also access interactive guides through the Honeywell Home app, ensuring comprehensive support for setup and maintenance.
11.3 Community Forums and Support Groups
Engage with Honeywell T4 Pro users and experts on platforms like Reddit, official Honeywell forums, and Facebook groups. These communities offer real-time support, troubleshooting tips, and shared experiences. Participating in these forums allows users to resolve issues quickly and gain insights from others. Additionally, the Honeywell Home app provides access to user-generated guides and FAQs, fostering a collaborative support environment.